


Kali Linux is the go-to Linux distribution for penetration testers because of the countless tools it has for tasks like password cracking, network scanning, and all other tasks a penetration tester would need. In the past, one would need to install Kali Linux as the operating system on their computer, but now, a far more lightweight solution exists. Using the Windows Subsystem for Linux, we can use all of the tools available on a Kali Linux distribution through the command line using Windows Subsystem for Linux. Let’s dive in.
1. Install Windows Subsystem for Linux
You will first need to open a Windows PowerShell as an Administrator; to do so, press Windows + x then click “Windows PowerShell (Admin)” in the menu on the left.
In the PowerShell, enter the following command:
Enable-WindowsOptionalFeature -Online -FeatureName Microsoft-Windows-Subsystem-Linux
Then press Enter.
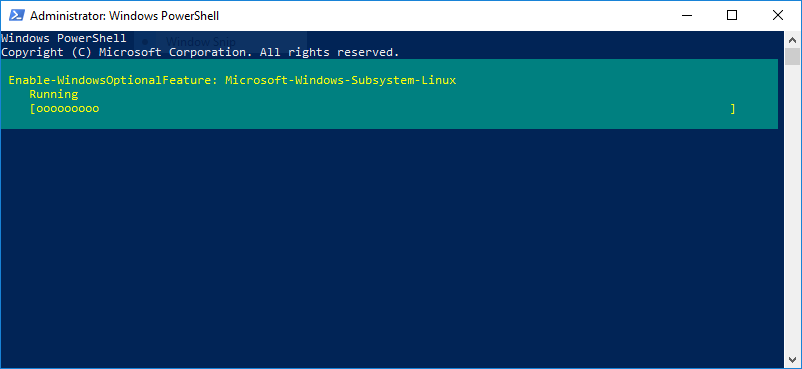
You will need to wait a few moments for it to load, and once it is finished you will be prompted to restart. Press “y” and Enter and your computer will restart.
2. Install the Kali Linux Application
Once your computer has restarted, open the Microsoft Store by searching for it with the search bar in the bottom left of your screen.
In the Microsoft Store, search for “Kali Linux” and click “Get” to begin the installation.
Once the download is finished, you will see two buttons; “Pin to Start”, and “Launch”. Click “Pin to Start” for easy access in the future, then click “Launch”.
When the window opens, a few more installations will take place automatically. Once those are complete, you will be prompted to create a new username and password.
3. Windows Defender Exclusion
Windows Defender will detect some of the Kali Linux tools as viruses, and limit your access to them; therefore it is necessary to add a Windows Defender Exclusion to the Kali Linux folder you just installed.
To find the folder, go to
C:\Users\your username\AppData\Local\Packages\
Be sure to replace “your username” with your actual username, which is visible in “C:\Users” using File Explorer.
Find the Kali Linux folder, open it, and copy the file location.

Search for “Windows Defender Security Center” using the search bar in the bottom left of your desktop, open it, and click “Virus & threat protection”.
Then click “Virus & threat protection settings” (in blue text).
Scroll down to the Exclusions section and click “Add or remove exclusions”. Click “Add an exclusion”, select “Folder”, paste the file location of the Kali Linux folder, and save your changes.
Conclusion
You now have Kali Linux for Windows Subsystem installed, and can begin to install tool kits that will match your functional needs. To begin preparing you to install new toolkits, run the following commands:
export LANG=C
sudo apt-get update
sudo apt-get dist-upgrade
sudo apt-get clean
and finally,
sudo apt-get install metasploit-framework
to install Metasploit, a popular penetration testing framework. You have now installed Kali Linux for Windows Subsystem for Linux and installed your first penetration testing tool. Good Luck!